Starter Motor Contacts for 80 series TLC
After hearing the starter motor keep running a couple of times after starting the 80 it was clear that the solenoid was sticking and it was time to do the contact/plunger overhaul.
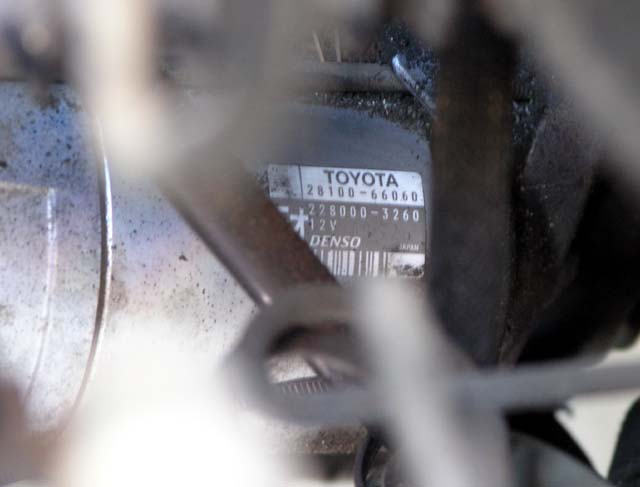
To determine which starter motor you have you can peer in from the USDS - and see the part number on the Starter. Mine was the colder weather 2kw version, part number 28100-66060.
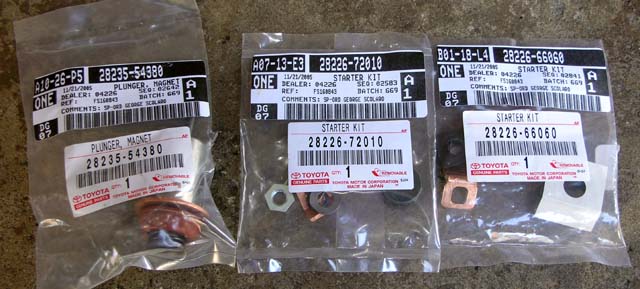
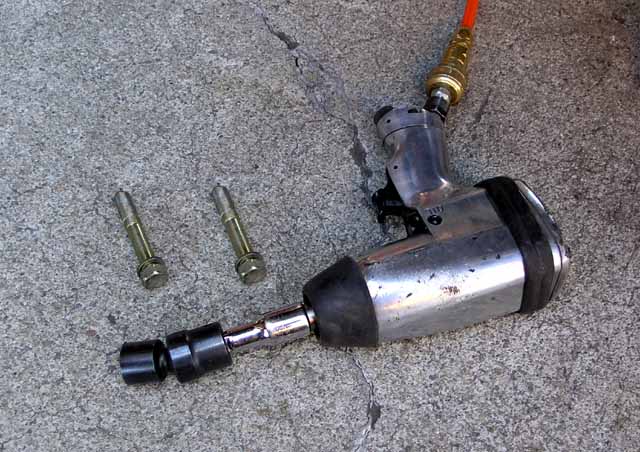
Here's a picture of the three 'bags' of bits that you need for the 2kw cold weather version of the starter motor.
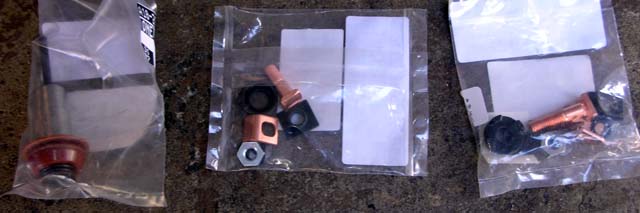
This is a picture of what is in the bags, pretty complete with new washers, nuts, insulators, o-rings and contacts.
Easiest way to get to the top bolt is to go in from the wheel well. Remove the plastic skirts and you can see the starter. Afterwards I also removed the bolt holding the bracket to the chassis so I could get easier access to the starter. I also pulled the starter motor out from this direction.
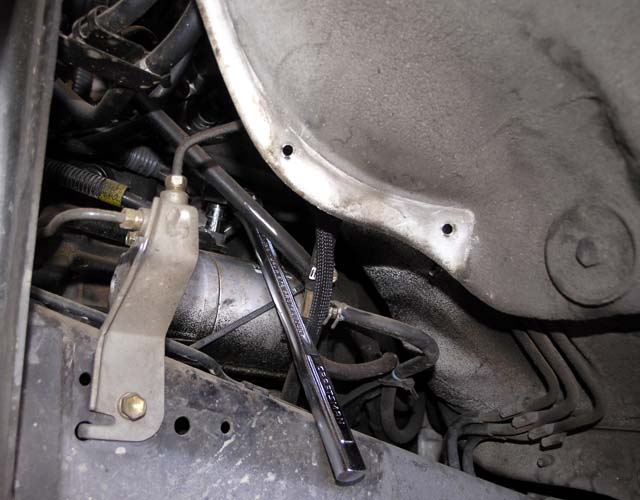
Disconnect the battery ground (you don't want to short the +ve contact of the Starter to ground!). Then remove the +12V cable from the solenoid (unclip the grey plastic cover over the nut)- I used a flex head ratchet to remove the nut (12mm). Then you can release the smaller black plug. Move the cables out of the way, now you have to remove the top and bottom bolts (17mm) that hold the starter motor to the bellhousing. I used an impact wrench and YES you can 'just' get a 1/2" impact gun in to remove the top bolt! Of course note the fancy uni-joint impact socket.
The bottom bolt is easier to get to, from under the vehicle and you come in from the rear of the bellhousing.
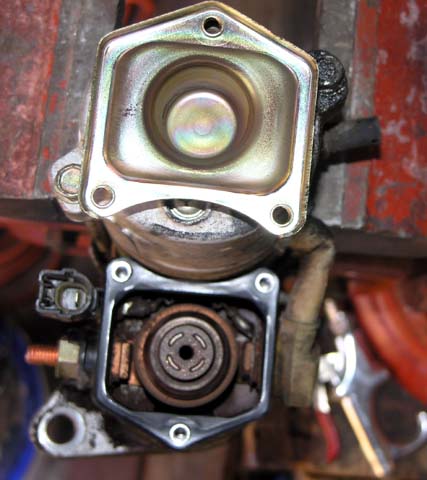
Ok, the starter is finally out and secured in the vise for disassembly of the solenoid. Remove the 3 bolts (8mm) that hold the lid in place and lift the lid off. The lid is sitting on the top of the starter (top of picture). The plunger is still in the housing.
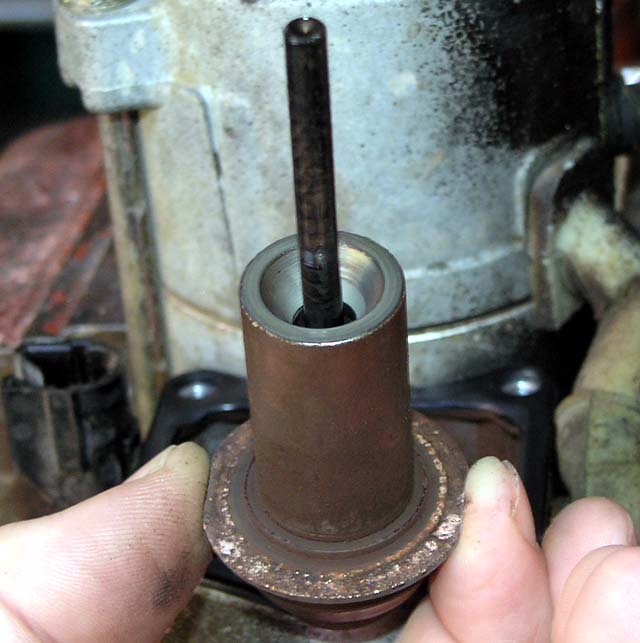
Then remove the plunger & spring. Contact area looks pretty nasty. Make sure the 'ball' stays in the housing.
You can see the old contacts and this is a good time to make sure the ball is at the bottom. You can see it shining from the bottom of the shaft hole in the middle of the picture.

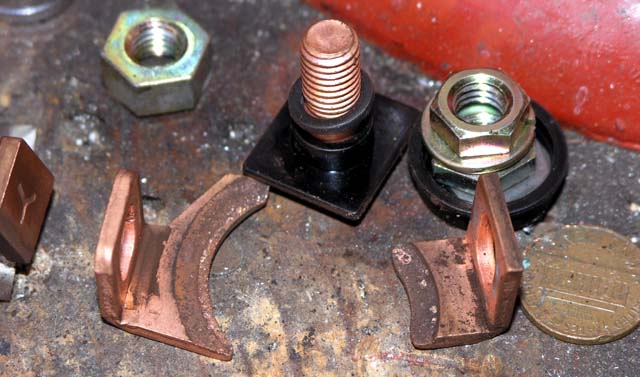
Next you can remove the old contacts. Be careful with the order that all the bits come out - though the FSM shows the correct order very clearly. Careful with the washers - they are convex and should be installed with the bowed out end outward towards the nut. Contacts look pretty worn and definitely in need of replacement.
That's basically it. Clean out the housing, and replace all the parts with the 'bits' in the bags (first picture). I pushed down on each contact with a piece of wood while tightening the nuts. The manual shows something like 200+ lbs and a press. Presumably they just want the contacts nice and 'flush' with the housing while tightening them into place. Reassemble the housing and install back into the vehicle and you're done.
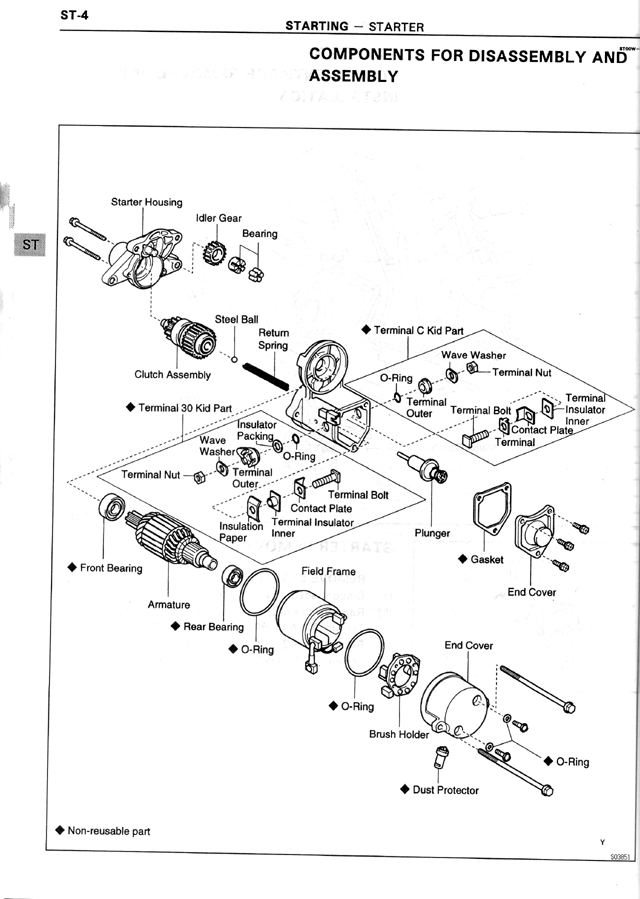
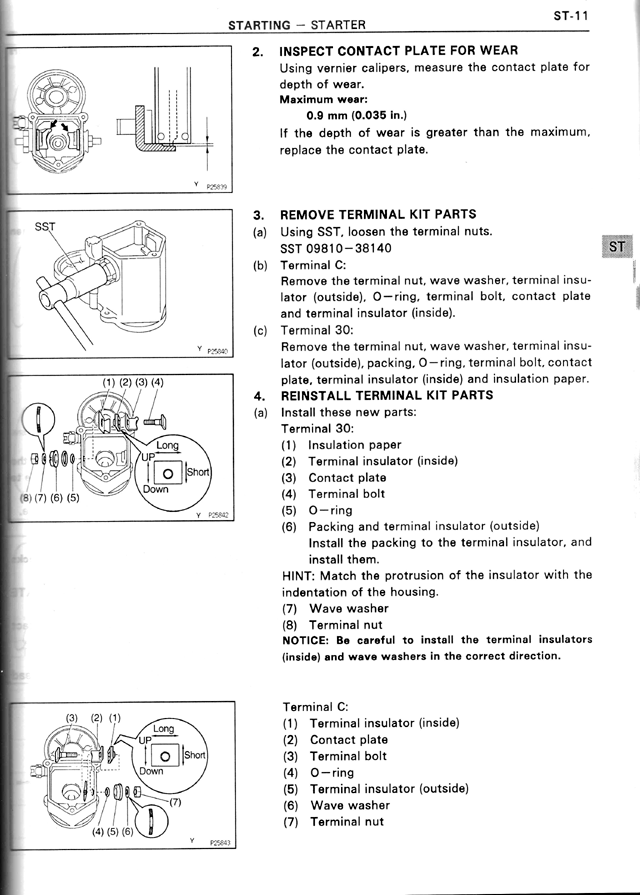
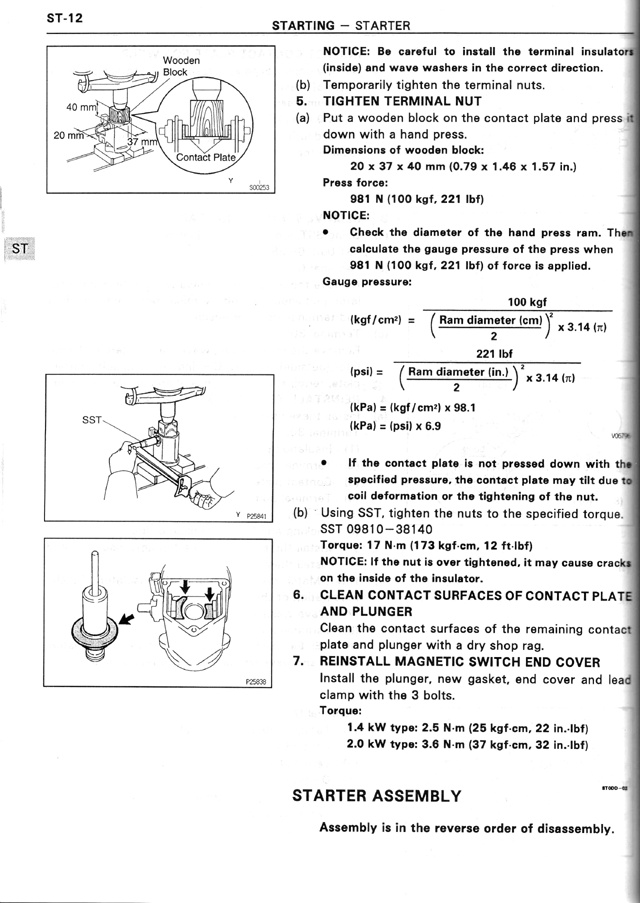
Here's pictures of the three appropriate pages from the FSM.
![]()